Wednesday, January 28, 2015

Get Organized : Cardstock

Hi everyone!
Today I'm sharing my system for organizing cardstock, scraps, and colored pattern paper.  I start with a large plastic bag and place all my sheets into it.  (Mine are mostly 9 1/2 by 11 in., so they stick out of the bag.)  Then on the front of the bag, I write the color name (example: blue) and put  scraps of cardstock into the front area of the bag.  In the back, I put pattern paper.  I know this system won't work for everyone but this is how I do it.  Comment, share, and enjoy!
Back

Front


Monday, January 26, 2015

Get Organized : Ribbon

Hi everyone!
Today, I decided to re-organize my ribbon spools.  Before, they were all thrown in a box and now I've re-purposed chopsticks and rubber bands for a much more organized space!  I started by wrapping rubber bands on all of the spools to keep them from unraveling.  Then, I lined them up in a color gradient and then placed them all on sticks according to size.  Hope you enjoyed!  Please comment and share and I'll be back soon!


Saturday, January 24, 2015

Get Organized: Embellishments and Stickers

Hi everyone!
In my series Get Organized, I'm organizing a part of my craft room until the final reveal.  So today, I decided to tackle my embellishments and stickers!  It isn't much of a DIY but whatever it is, it's time consuming!  I started with this green divided container that I got at Michaels.  Then, I dumped out all my embellishments and stickers and sorted them out into the little compartments.  For the stickers on plastic sheets, I cut them apart with their backing still on.  I also added fabric, foam, and felt embellishments too.  Hope you enjoyed!


Thursday, January 22, 2015

Get Organized: Thread Hack

Hi again!
If you are like me, your thread and embroidery floss quickly becomes an unusable, tangled mess. Don't let all your thread go to waste!  For this organization hack all you need is your thread and a clothespin!  I found this amazing idea on HGTV Handmade.  Here is a link to their video - DIY Yarn Organizer. Comment, share, and enjoy!


                                         (Note: Bobby pins will work for this too!)

Step 1: Clamp the beginning of the thread at the clip part of the clothespin
Step 2: Bring it over the top and start wrapping the thread at the first notch
Step 3: Finish by tucking in the end into a previous loop

Be sure you watch the video for a better explanation! 

Wednesday, January 21, 2015

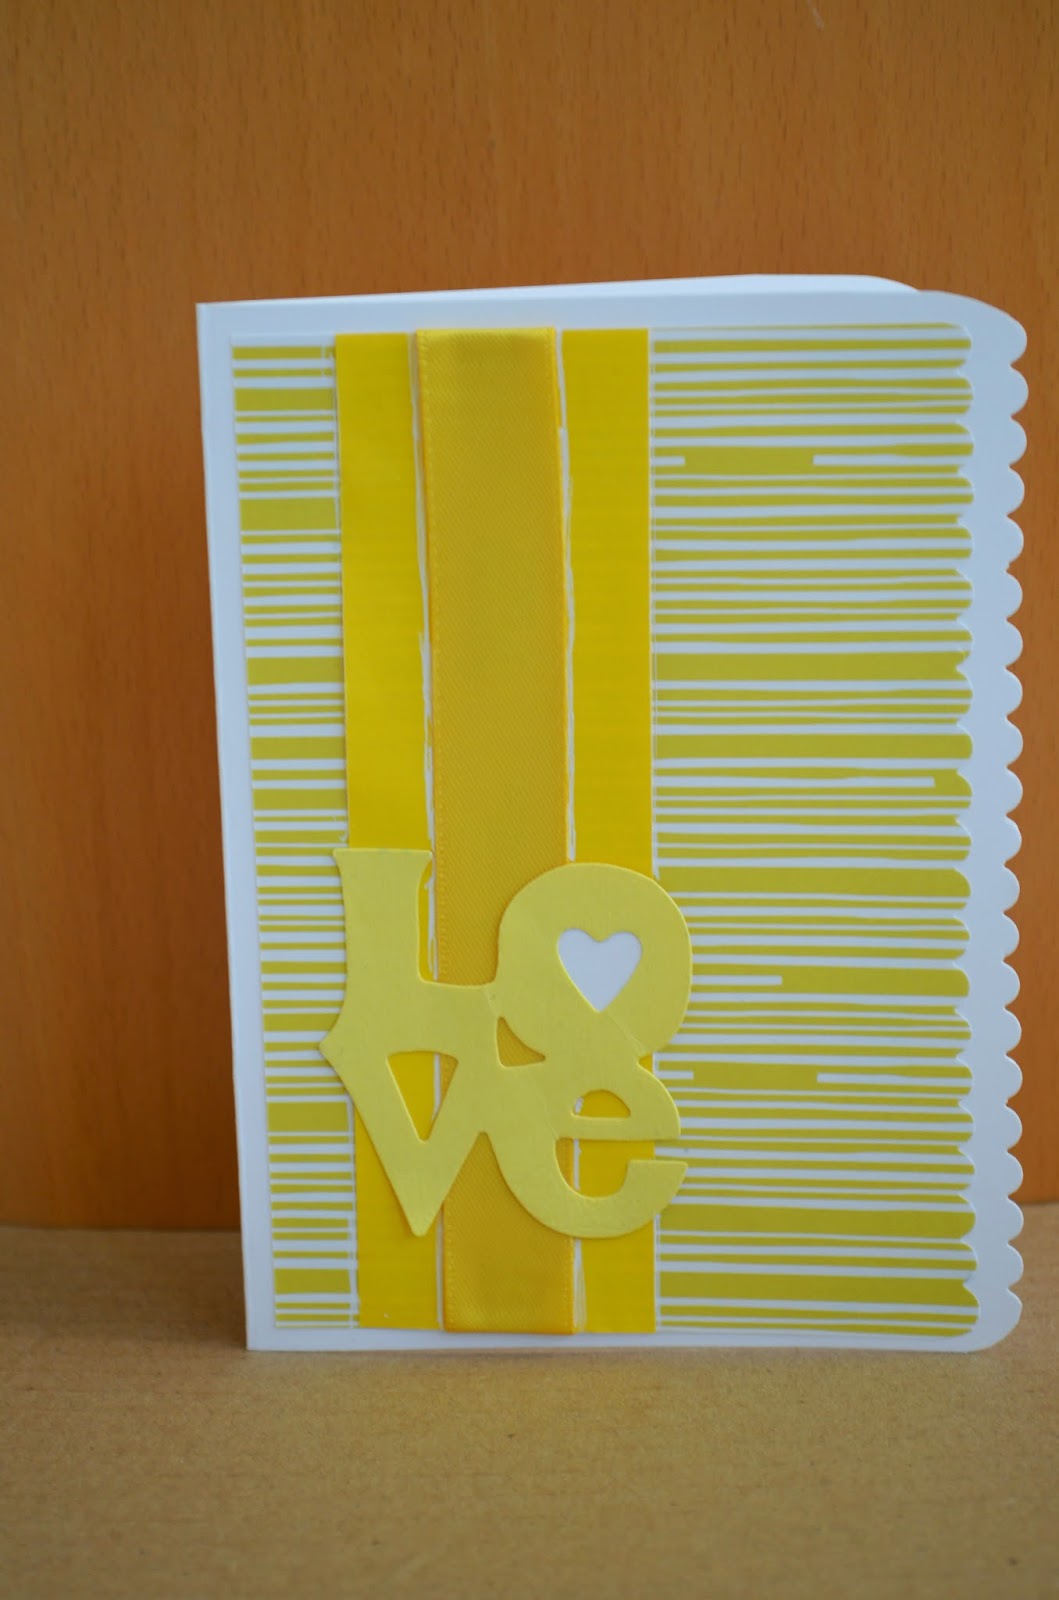
1C1A - Card 5

Hi everyone!
Today, I bring you the last 1C1A card.  It is a less classic Valentine's Day card.  My main color is yellow and my accent is white.  I used the Recollections Paddywack paper pad, Tom-bow Mono tape runner, a white gel pen, Celebrate it 360 yellow satin ribbon, and Creative Memories scallop scissors along with a cut from my Silhouette Cameo.  Please comment ideas for upcoming posts and share!


Tuesday, January 20, 2015

Get Organized: Dry-Erase Boards

Hello everyone! 
Being a creative, always-thinking sort of crafter, I'm constantly jotting down ideas for everything.  So today I bring you 3 ways to make dry-erase boards!  Duct tape, foil, and packing tape!  For packing tape or duck tape boards simply cover a piece of cardboard or thick cardstock with tape.  For foil, smooth out a piece of foil larger than your cardboard with a ruler or anything with a straight edge.  Be very careful while doing this because foil rips very easily.  Then apply glue to the cardboard and either trim the excess foil or fold and glue the extra foil down.  Comment, share, and enjoy!

(Note: Some duct tapes will work better than others)

Monday, January 19, 2015

Get Organized: Pencil Cups

Hello everyone!
It's 2015!  One of my New year's resolutions is to re-organize my craft room.  So, I'm starting a mini series called Get Organized!  It's initials are "g" and "o" spelling GO.  So let's "Go" organize our craft supplies!
Today, I'm sharing two different ways to organize your pencils, pens, brushes, etc.  Hope you enjoy and if you do please comment more ideas for upcoming posts and share!
Pencil Cup 1
Materials: Clean can, yarn, glue, felt (optional), and scissors


Step 1: Spread glue at the rim of the can
Step 2: Begin wrapping yarn and applying glue to the can
Step 3 (optional) : Finish by cutting a piece of felt to fit the bottom of the can and glueing it in place

Pencil Cup 2
Materials: Toilet paper tubes, any container or box, and decorations


Step 1: Decorate box with colorful paper, stickers, washi tape, or anything you want
Step 2 (optional): Paint or decorate the TP tubes
Step 3: Arrange tubes in the box

Birthday Cards

Hi everyone! I've got two birthday cards to show you guys today.  Not much to say here but check back next week for more crafts! ...